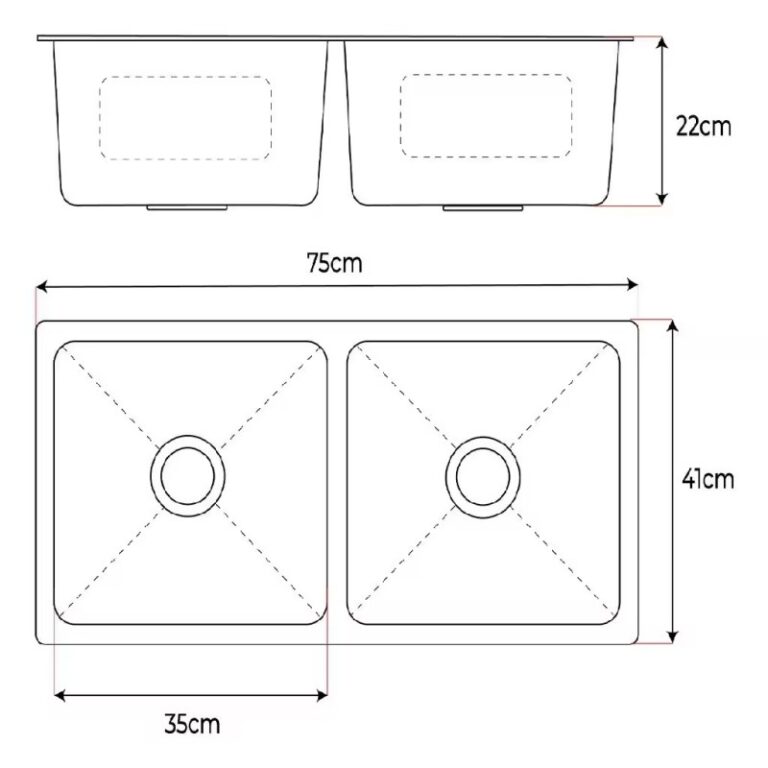
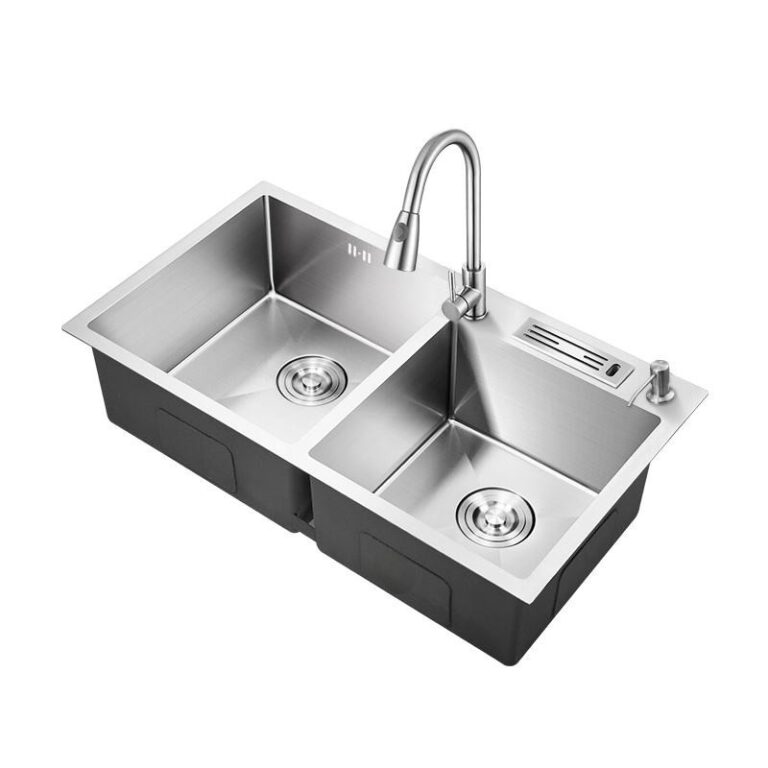
Stainless Steel Thickness Standards and Selection For Sinks
Table of Contents
Abstract
This guide decodes the Chinese GB/T system for stainless steel plate and sheet thickness, contrasts it with major international standards, and translates specification rules into practical selection advice for engineers, purchasers and QA teams. You will find: how thickness classes and tolerance grades are defined, common procurement pitfalls (and how to avoid them), measurement and verification methods, industry-specific selection matrices, and a look at technological trends that influence thickness choice and manufacturing capability.
1. National Standard: Benchmark System for Thickness Specifications
China’s GB/T standard family covers both cold-rolled and hot-rolled stainless products and provides the normative backbone for specifying nominal thickness, allowable tolerances, precision grades and inspection methods. When writing or interpreting a material spec you should first identify which GB/T standard applies to the form and application:
- Cold-rolled sheet & strip — general manufacturing, fine gauges and surface finishes. (see GB/T 3280 scope: cold-rolled stainless sheet/strip specifications and tolerances).
- Hot-rolled plates & thick gauge — plates above typical sheet thicknesses, different rolling and cooling histories impact flatness and tolerances (see GB/T 4237 scope).
- Pressure-equipment-specific plates/sheets — for pressure-bearing components the more recent parts of the steel plate standard family (e.g. the pressure equipment series) incorporate stricter test, marking and traceability rules.
Rules to extract from the standard when preparing a purchase order:
- Product form (sheet, plate, strip)
- Nominal thickness and the tolerance class you require (precision A / general B equivalents)
- Width and length limits (tolerances often vary with width)
- Surface requirement and finishing (processes can remove or add a thin layer)
- Quality certificates and traceability (MTC, heat number linking)
Standards are living documents: always quote the standard number and issue year on the PO.
2. Thickness classification and tolerance control
Typical thickness bands and tolerance behavior
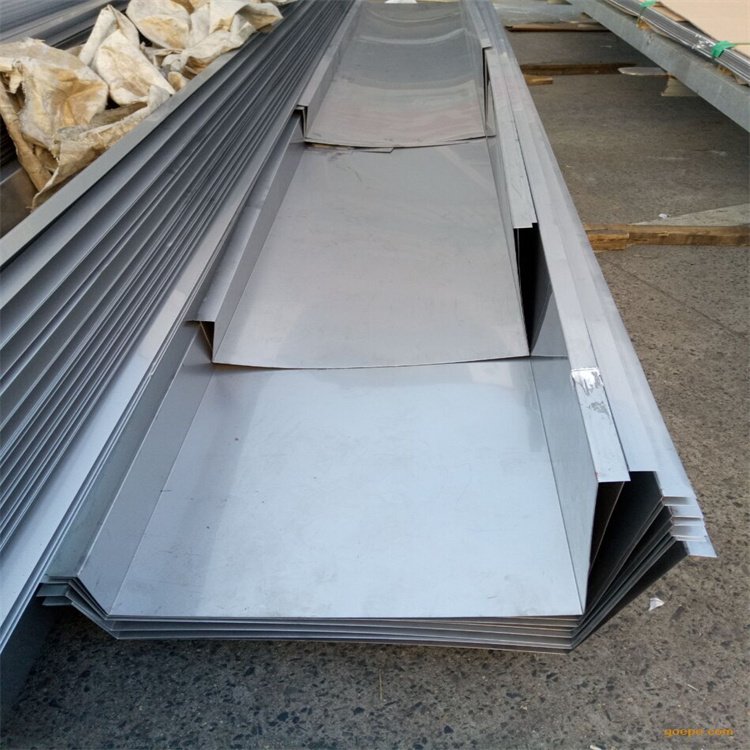
Standards define nominal thickness bands where a single tolerance rule applies (for example 0.3–0.6 mm, 0.6–1.0 mm, etc.). Wider and thicker plates typically allow larger absolute deviations. A few practical rules:
- Thin gauges: tight absolute tolerances (measured in hundredths of a millimeter).
- Mid gauges (sheet to thin-plate): tolerances relax with nominal thickness and width.
- Thick plate: absolute tolerances may be a few tenths or millimeters depending on range.
Note: many GB/T tables mirror the logic found in ASTM/EN standards — the difference is usually units, table layout and precise numerical bounds.
Precision classes and procurement language
GB/T standards typically let purchasers specify a precision level (sometimes referenced as class A / class B or “precision / general”). Always specify:
- Nominal thickness (e.g. 1.00 mm)
- The tolerance class required (e.g. precision class)
- Measurement basis (where thickness is measured — e.g. 3/8″ from edge or at the central band)
If the PO omits tolerance class, sellers apply the default/standard class which may be looser than your production requirement.
Controlling variation in manufacturing
To achieve tighter tolerances, mills use controlled rolling, cold rolling with calibrated reductions, precise annealing and controlled leveling. Buyers should expect higher unit cost for tighter tolerance grades and should quantify the cost vs. performance trade-off.

3. Thickness differentiation selection for industry application scenarios
Different industries prioritize thickness for different reasons. Here are common scenarios and selection heuristics.
Kitchen & Food Equipment (e.g., sinks, countertops)
- Typical materials: 0.6–1.5 mm for sinks and thin appliance panels; 1.0–2.0 mm for load-bearing trims.
- Priorities: surface finish (2B, No.4), corrosion resistance, weldability, and cost.
- Choose: thin sheets with precision tolerances when visible surfaces are critical; allow wider tolerances for internal structural members.
Architectural facades & cladding
- Typical range: 0.6–3.0 mm depending on panel size, backing and wind loads.
- Priorities: flatness, stiffness (thicker to avoid oil-canning), finish uniformity, and thermal expansion allowances.
- Choose: thicker gauges or composite panels (thin stainless over a substrate) when large unsupported spans are present.
Pressure equipment (vessels, heat exchangers)
- Critical: mechanical strength, corrosion allowance, regulatory compliance.
- Typical: plates often begin at several millimeters (design dependent) and are controlled under pressure-equipment specific requirements. Traceability (MTC), impact testing and thickness tolerance are stricter here.
Automotive & Transportation
- Typical: thin gauge (0.4–2.0 mm) for structural/panel uses, combined with forming limits (springback) and joining strategy.
- Priorities: formability, localized thickness for stamped areas, and surface appearance on external panels.
Electronics & Medical devices
- Typical: very thin foils and sheets (0.1–0.5 mm) with tight tolerances.
- Priorities: dimensional precision, surface cleanliness, and low oxide scale.
Selection checklist for any sector:
- Functional minimum thickness (strength, stiffness, corrosion allowance)
- Manufacturing constraints (forming, welding, machining)
- Inspection and assembly allowances (trim, bend radii, plating)
- Cost per kg vs cost per part — thinner may reduce material cost but raise processing scrap or add complexity
4. Common misunderstandings in procurement practice
- Confusing nominal thickness with finished thickness. Surface treatments, pickling or mechanical finishing can remove material. Always specify whether thickness is before or after finishing.
- Not specifying tolerance class or measurement location. If omitted, suppliers apply standard tolerances which may be too loose for precision parts.
- Ignoring width-related tolerance changes. Wider coils/plates often have larger tolerances — confirm tables for the exact width band.
- Assuming all standards are identical across countries. Units, measurement conventions (where thickness is measured), and test/report requirements differ — convert and call out the desired reference explicitly.
- Underestimating forming & weld shrinkage. Thinner sheets may give better aesthetic results but can lead to springback during forming or distortion during welding.
- Overlooking inspection methods. For thin sheets, micrometers and calipers suffice; for thick plates or suspicious batches, insist on ultrasonic thickness mapping.
Avoid these procurement mistakes by including a short materials annex in the PO that lists: standard number, nominal thickness, tolerance class, width/length, surface, test certificates required, and measurement method.
5. Comparison of international standards and key points of compliance
Key international frames buyers need to map:
- GB/T family (China) — GB/T 3280 for cold-rolled stainless sheet/strip, GB/T 4237 for hot-rolled plates/strips, and parts of the GB/T 713/24511 family for pressure equipment. These documents define classification, thickness ranges and tolerance tables used by Chinese mills.
- ASTM (USA) — ASTM A480/A480M provides general requirements for flat-rolled stainless steel including thickness, tolerances and testing principles used in US procurement.
- EN (Europe) — EN 10088 series and related product standards specify stainless grades and product forms; dimension/tolerance tables will differ in presentation and sometimes numeric bounds.
- JIS (Japan) — JIS standards have their own thickness bands and test rules; Japanese mills often publish to both JIS and GB/ASTM to ease exports.
Mapping practicalities: when converting a foreign spec to a local purchase order:
- Quote both the foreign standard and the GB/T equivalent (if you accept a cross-standard delivery).
- Convert units and confirm tolerance numeric values — a direct textual reference without conversion risks mismatch.
- For critical components, require a sample or a pre-production test batch to validate fit and finish.
6. Technological innovation and future trends
Precision rolling and digital process control
Modern mills combine closed-loop thickness control, laser/eddy current measurement and automated rolling adjustments. This reduces batch scatter and allows mills to offer tighter tolerance grades at scale.
Non-destructive measurement and Industry 4.0 traceability
Ultrasonic thickness mapping, laser triangulation for flatness, and digital heat-number-linked records (MTCs) help purchasers verify compliance quickly and remotely.
Advanced alloys and thickness optimization
Higher-strength stainless grades (duplex and super duplex, 2205, 2507 families) allow designers to reduce nominal thickness while meeting strength and corrosion requirements — a direct material-performance trade-off increasingly exploited in marine and chemical process equipment.
Sustainability & resource optimization
Thinner gauges mean less raw material per part, but mills increasingly publish life-cycle and recycling data; designers should validate that thin-gauge choices don’t increase downstream repair or replacement frequency.
Additive manufacturing & hybrid assemblies
While not a replacement for sheet/plate, localized additive repairs and hybrid attachments (additive features on sheet components) are creating new design possibilities that influence how thickness choices are made for joining and reinforcement.

Summary
Choosing the right stainless sheet thickness is a multi-variable decision: standards define the numeric backbone (nominal thickness bands and tolerances), but industry application, forming and surface needs, procurement clarity and evolving metallurgy all shape the final call. A robust purchase order must explicitly name the applicable standard, the tolerance/precision class, measurement method, required documentation and any post-processing allowances.
Quick takeaways
- Always quote standard number + year on the PO.
- Specify nominal thickness, tolerance class and measurement location.
- Match thickness to functional need — don’t over- or under-spec.
- Require MTC and unit-level traceability for regulated equipment.
- Consider advanced alloys when strength-to-thickness optimization is needed.
FAQ (short)
Q: Should I specify the GB/T standard or an international equivalent on the PO? A: Specify both if you accept cross-standard delivery; always state the final criterion that will be used for inspection.
Q: When is ultrasonic measurement recommended? A: For thick plates, laminations suspicion, or when non-destructive full-area mapping is needed — e.g., pressure equipment.
Q: Can surface finishing affect final thickness? A: Yes. Mechanical polishing and pickling can reduce thickness by small amounts — clarify before ordering.
Q: Are tolerance classes expensive? A: Tighter classes usually cost more — mills compensate with more process control and yield loss.

